If you’ve experienced the nuisance of loud neighbors or busy streets near your condo unit, it’s probably time for you to soundproof your condo.
In this short but detailed guide, our interior designers will share all the best steps and tips to keep your home cosseted from stressful noise pollution. From the drywall, floor, and ceiling solutions, this soundproofing condo guide will explain all available options for a tranquil abode.
Soundproofing Walls
One of the first things to address in soundproofing your condo are your walls. There are many different ways and DIY methods to do this, but here are our tried and tested options:
1. Addition of Curtains/Soft Material Against Sound
One of the things you might want to do is to put up large decorations against your walls. You are welcome to use the following:
- Paintings
- Tapestries
- Wall hangings

If you don’t have the above options, you can opt for anything as long as it has a soft surface. We needed to highlight the soft surface as it’s an important factor in soundproofing a condo wall.
Hard materials usually do not work that great in sound absorption. They tend to bounce echoes all over the living space whenever they encounter sounds. So hanging soft decorations in your walls is more effective in soundproofing condos.
Another way to make sound barriers is to get some curtains for your windows. You’d specifically need a thicker curtain to reduce noise effectively. You’ll be surprised at how much it can dampen the noise. We highly recommend soundproof curtains if your budget allows it.
Additionally, with the use of reliable interior designing apps, you can also replace your hard furniture with soft ones.

Like we said earlier, anything that’s against your condo walls reduces noise. As long as it has a soft surface. But you should also take note of the materials of soft furnitures. Your couch might be covered with soft leather. But it is not that effective in soundproofing compared to fabric ones.
2. Patch Holes
You should always inspect the walls whenever you check apartment or condominium buildings, especially in Toronto. You don’t want to deal with a one-hole new issue just right after you’ve moved into your new home.
But if this already happened to you, there is a way to repair that. To fix holes in drywall, you will have to measure the size of the hole first. All the four sides must be calculated too.
For holes that are about an inch small, all you need is mud and a putty knife:
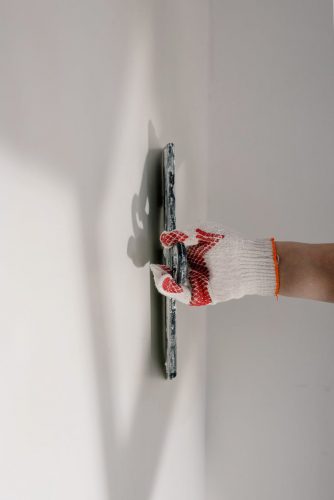
- First, use the knife to fill in the hole with the mud.
- Make sure it's fully filled so it will be strong when it dries.
- Then let it sit for a while.
Now, for holes that are fist-sized big:
- Clean up the edges of the hole using a utility knife.
- Cover the hole with a mesh adhesive patch.
- Spread mud over the patch using a putty knife.
- Focus on filling up the hole first.
- Then cover up the rest, untouched area of the patch.
- Let the mud dry.
Regardless of the hole sizes, what you will have to do after the last step is the same:
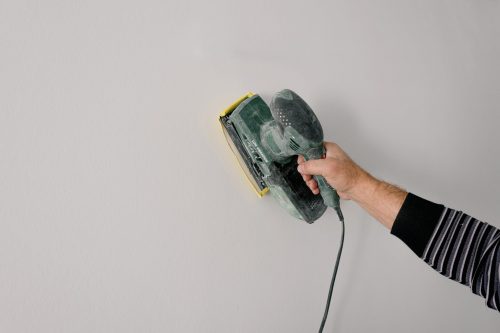
- Wear a mask and goggles for sanding.
- Use a sanding sponge to smooth out the mud.
- Then skim coat the surface with a mixture of mud and water.
- Apply more pressure to the outside of the patch area for feathering.
- Get a spray can texture that matches the texture of your walls.
- Spray it over the patch area as well as a little bit outside.
- Spread it evenly using a knife (only with a few strokes).
- Spread it evenly using a knife (only with a few strokes).
3. Drywall
You can also get soundproofing drywall such as QuietRock for your condo.
This type of drywall typically has a high Sound Transmission Class (STC) rating. In other words, it is more capable of blocking sound coming from people outside. You can also increase the layer of your drywalls by getting thicker 5/8″ drywall panels for more effective sound insulation.
Furthermore, installing this with Green Glue noise proofing significantly reduces the noise.
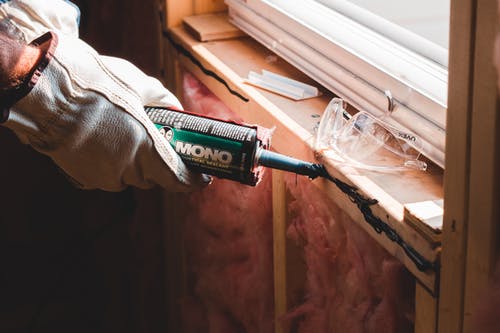
Here are the following steps to install another wall layer:
- Remove wall fixtures and outlet covers from your drywall first.
- (Optional) For better soundproofing, attach a mass-loaded vinyl to your base wall. The MVL should be as large as the base wall.
- Apply green glue soundproofing compound (with a random zig-zag pattern) on your additional soundproofing drywall.
- Apply a green glue sealant compound with the same pattern next. Place the additional drywall over your base wall (or the MVL if you went for it).
- Place the additional drywall over your base wall (or the MVL if you went for it).
- Attach it to the wall studs using screws (use a stud finder if you can't find the studs).
- Seal any gaps left with an acoustic caulk and caulking gun.
4. Audio Blankets
Audio blankets are another excellent option for your apartment or a condo building too. They are literally sheets you can use to cover drywall, door, or windows [1].
The thicker the fabric, the better soundproof quality you will get.
5. Insulation Foam
One way to hear lesser sounds from your neighbors is to install an insulation foam in the wall cavity.
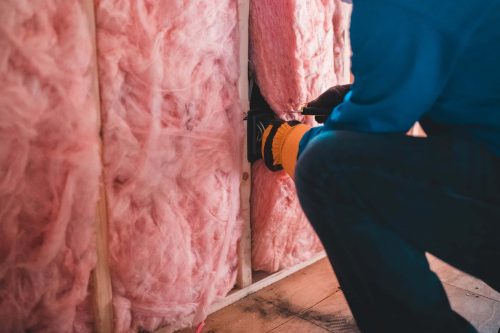
This involves another (new) drywall to put up over your base wall. You basically install the foam between them to block sound much more effectively.
Do this by mounting foams on the new drywall. And then, decouple it from the base wall with 1-2 cm space between them.
(To make your condo unit more alive, we have listed adorable dogs for condo you can choose from)
For the Ceiling
You can install a resilient channel to your ceiling for better sound insulation (take note: this will require a professional’s help):
- Remove your drywall ceiling.
- Measure the two farthest, opposing studs of your ceiling.
- Put screws on your studs every 16".
- Attach your chalk lines to the screws and snap them across the ceiling.
- Install a resilient channel over the studs based on the layout you made above.
- Leave a quarter-inch from the outside ceiling wall.
- Cut out the excess so it fits your ceiling.
- Hang your ceiling drywall over it.
- Trim the excess if needed as well.
For the Floors
There are several methods for soundproofing a floor. You can opt for the following:
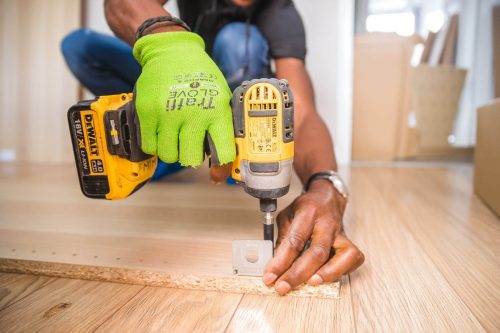
- Getting a cork, laminate, engineered wood, or vinyl flooring
- Setting up heavy carpet or rubber mats over your hardwood floors
- Or installing some underlayment in between your floor and subfloor
For those who are considering floor underlayment, follow these steps for seamless installation:
- Get an underlayment from your preferred brand.
- Roll it over your floor.
- Cut the excess edges with a utility knife (leave a 1/4" gap from the perimeter).
- Remove the underlayment and put it aside.
- Apply green glue to your subfloor.
- Roll out the underlayment again and secure it down.
- Apply green glue over the underlayment.
- And install the floor surface.
FAQ
Can you totally soundproof a condo?
Yes, you can totally soundproof a condo. However, there are the important things you should take into consideration. First, patching holes and installing soundproof curtains are easy DIY fixes. However, most sources of noise in a condo and home are the walls. For this, you’ll need an expert to perform changes to your drywall.
Second, we highly recommend talking to your landlord first before making changes to your walls, floor, or ceiling.
How much does it cost to soundproof a condo?
You should expect an average of between $1000 to $2,500 to get essential soundproofing projects done.
Conclusion
Soundproofing is expensive. But for the ultimate peace and quiet life, it’s quite worth it.
If it’s for achieving a restful sleep every night, then it’s worth the money and your team. Our design experts are confident that you will overcome the hassle of your loud neighbors with the soundproofing condo measures we provided above. But we also highly recommend consulting with your landlord or with a professional before making drastic changes to your unit.
Also check:


